
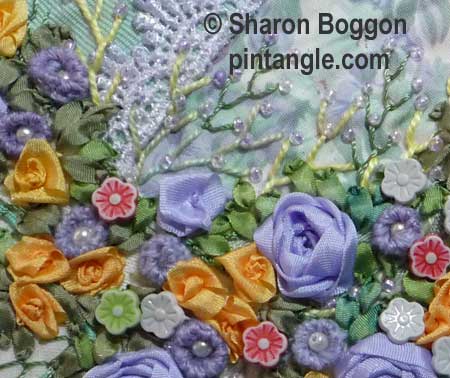
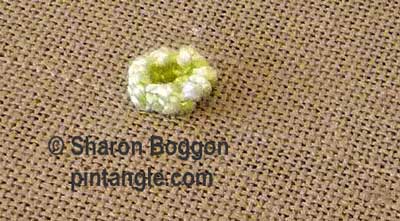
 Little mauve flowers of raised cup stitch have been tucked in a spray of flowers on a crazy quilt block. The stitch has been worked in a mauve thread that is a mix of mohair and wool.
Raised cup stitch is a fun and quick to work. As the name implies it produces a little cup that is raised from the surface of the fabric. As with many of these 3D stitches if you work this stitch using a thread with a firm twist such as perle cotton, it not only looks better, you can see what you are doing! This stitch is really interesting if you try it in textured thread, chenille, silk ribbon or wool. Adding beads to the middle often makes this stitch sing.
After mastering this stitch if you try it in thicker threads such as wool, chenille or even silk ribbon you will be surprised and I am sure delighted by the results.
If you add a bead to the middle of the cup this stitch makes great flower like shapes that can be arranged in sprays or to resemble hollyhocks.
How to work Raised Cup stitch
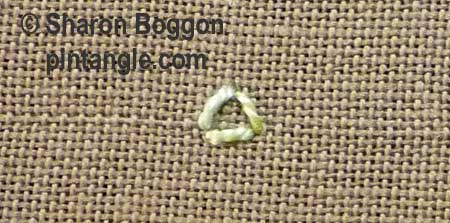 First work a foundation of three straight stitches arranged in a triangle.
From this point on you will not be stitching through the fabric so use a blunt needle to avoid splitting the foundation threads by accident. If you prefer you can change your needle at this point in the process. Using a tapestry needle also allows for experimentation with the threads you use such as chenille or novelty threads.
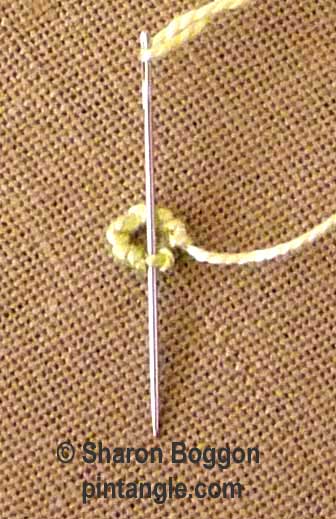
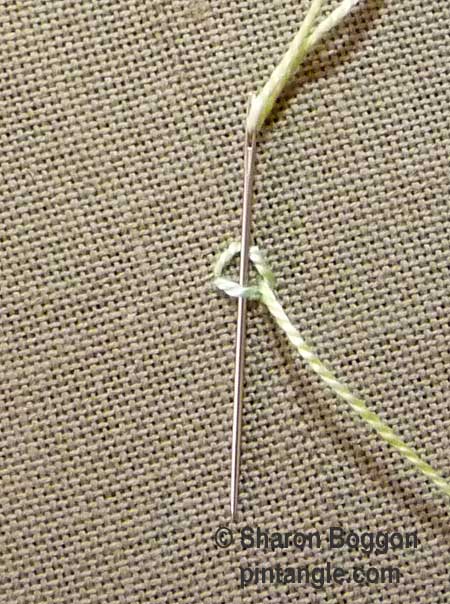 Pass the needle under the first bar.
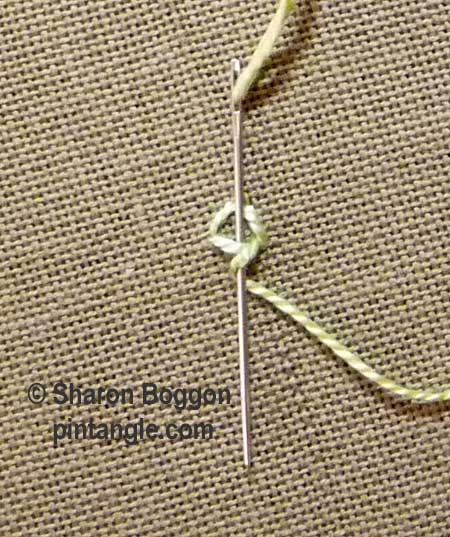 Working in an anti clockwise direction first wrap your thread over the needle then wrap your thread under the needle as illustrated. (As you are working remember over, under, over, under, and so on)
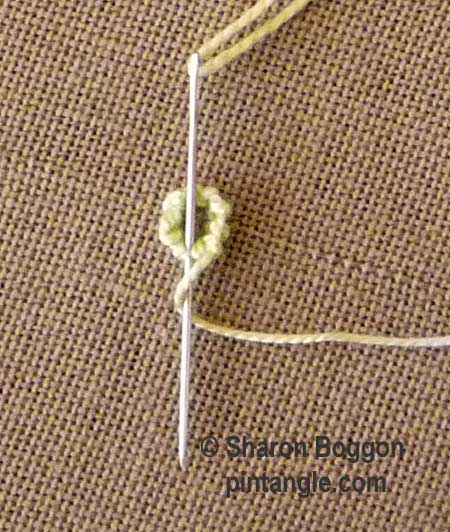
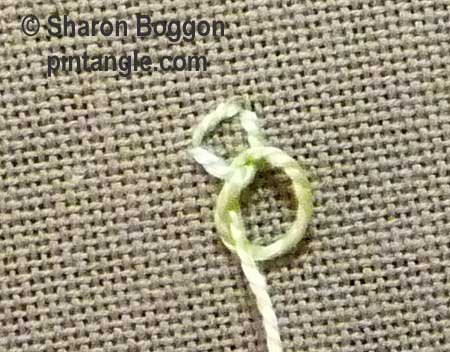 Pull your needle through gently to form a loop which as you pull further becomes a knot on the foundation bar. The knots create the stitch.
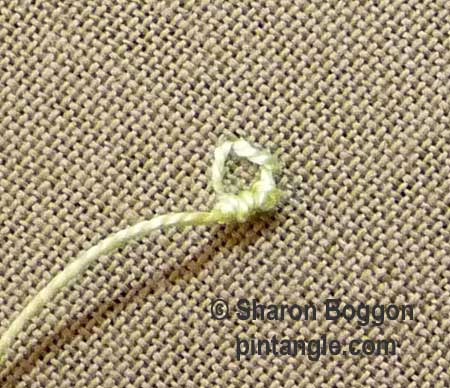 Repeat this process working around the triangle
 When you have completed one ring move to the second round by simply continuing to stitch between the spaces of the first row of stitches.
 If you want this stitch to splay outward add a few more stitches to the ring by working two stitches into one space every 4-5 stitches. Different effects can be created by working higher or splaying out the cup.
 When the required height is achieved weave the thread back down the side of the cup, take it to the back of the fabric and tie off.
Thread Twisties!
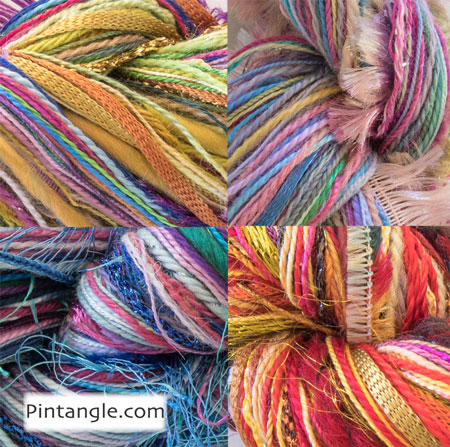
Experimenting with different threads can be expensive, as you would normally have to buy a whole skein of each type of thread. So I have made up my thread twisties which are a combination of different threads to use in creative hand embroidery. These enable you to try out stitching with something other than stranded cotton. For the price of just a few skeins, you can experiment with a bundle of threads of luscious colours and many different textures.
These are creative embroiders threads. With them, I hope to encourage you to experiment. Each Twistie is a thread bundle containing silk, cotton, rayon and wool. Threads range from extra fine (the same thickness as 1 strand of embroidery floss) to chunky couchable textured yarns. All threads have a soft and manageable drape so that twisting them around a needle makes experimental hand embroidery an interesting journey rather than a battle. Many are hand dyed by me. All are threads I use. You may find a similar thread twist but no two are identical.
You will find my thread twisties in the Pintangle shop here.

This is such a beautiful 3D stitch. My samples are here.
http://hobbysewing.blogspot.com/2020/11/tast-43-beyond-tast-43.html
I love using cup stitch, but I didn’t know what it was called. It makes beautiful trumpets for daffodils.
Thanks as always for the education and fun
Hi Sharon,
today, I completed this stitch sampler , the details are on my blog-
http://jizee6687.wordpress.com/category/tast-2013/37-85-raised-cup-stitch/
Thank you,
Chitra
Unlike last week’s lovely stitch (Spiked Knotted Chain), the Raised Cup was a challenge!!!
Read my struggle here: http://queeniepatch.blogspot.jp/2013/10/tast-85-raised-cup.html
My attempt is somewhat pathetic — I have trouble seeing the stitches and am not sure but that I made my knots too tight and too close together. The second one, a little smaller to start with, was an attempt to make it flare by doubling the number of second row stitches, Didn’t work; just got taller, but it looks better than my first attempt. Oh well… Yet another on this page of stitches that needs a do over…
http://smg.photobucket.com/user/thatyank/media/thatyank%20siggies/Blog%20photos%20from%20Multiply/October%202013/85-RaisedCupstitch.jpg.html
what a pretty sample x
Chain Stitch TAST #8
http://mooshiestitch.blogspot.com/2013/10/take-stitch-tuesday-8-chain-stitch.html
Thanks for the instruction Sharon. I hope you are enjoying your trip! You can see my attempt at the raised cup stitch at
http://princessbubblescreates.blogspot.ca/
On of my favourite stitches! Here’s my weekly post with old raised cup stitches:
http://fat-quarter.blogspot.nl/2013/10/old-raised-cup-stitches.html